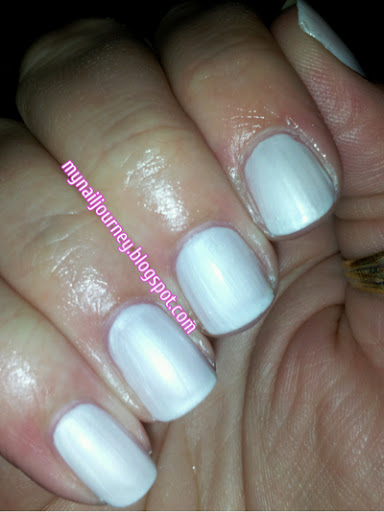
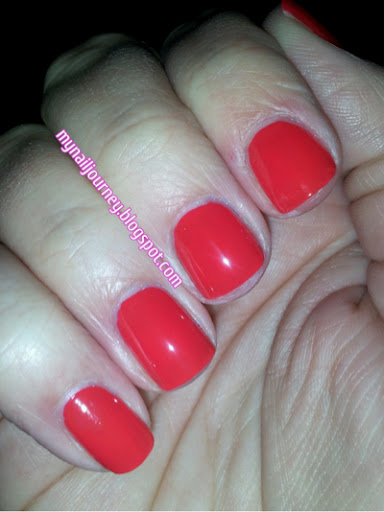
Sorry for the crazy long title, I just like to be a little thorough. :-) As I mentioned yesterday, I had been very busy at the beginning of the week helping my friend with her two little children as she is recovering from surgery. I didn't have any time on Monday but I had about an hour and a half between work and heading over to help her on Tuesday. Instead of sleep I decided to try the Complete Salon Manicure polish I received from Jennifer last week. Jennifer was my "adopt a friend" for the month of June. If you would like to learn more about that you can read yesterdays post here.
I was not quite sure what the Complete Manicure Salon included so I headed over to the Sally Hansen website and was shocked with what I found out. The formula in the Complete Manicure Salon has your base polish, nail strengthing formula, growth treatment, color, and top coat! I thought it only had the base coat, color, and top coat. Five steps in one and I was short on time, I couldn't beat that. The dry time was impeccable! The first layer dried so quickly. The second and third coat took a little more time, I would say about five minutes but that was quite all right with me as I have waited up to fifteen minutes for colors to dry. The only thing I did not like about the polish was how sheer it was. I did however receive full opacity at three coats so it was a minor set back.
I was not quite sure what the Complete Manicure Salon included so I headed over to the Sally Hansen website and was shocked with what I found out. The formula in the Complete Manicure Salon has your base polish, nail strengthing formula, growth treatment, color, and top coat! I thought it only had the base coat, color, and top coat. Five steps in one and I was short on time, I couldn't beat that. The dry time was impeccable! The first layer dried so quickly. The second and third coat took a little more time, I would say about five minutes but that was quite all right with me as I have waited up to fifteen minutes for colors to dry. The only thing I did not like about the polish was how sheer it was. I did however receive full opacity at three coats so it was a minor set back.
While I was at my friends house helping her later that night, I noticed she had two polishes from the line sitting on her counter. I opened them to check the formula and they were a rich, creamy color. I was glad to find out that it was just the color that I got, and not the entire line. The brush could easily cover the entire nail in one swipe, but I prefer to do smaller stokes since I feel I have more control of how the color is applied. I am pretty sure they are going for speed with this line of polish, so a one swipe brush fits perfectly with that concept.
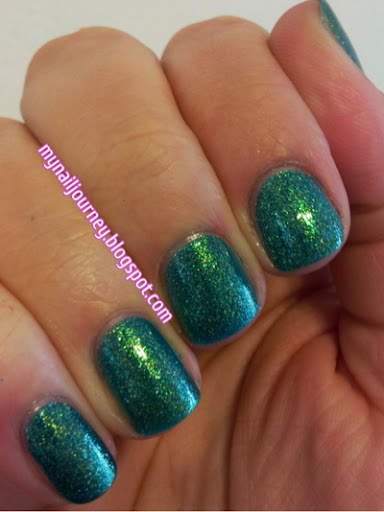
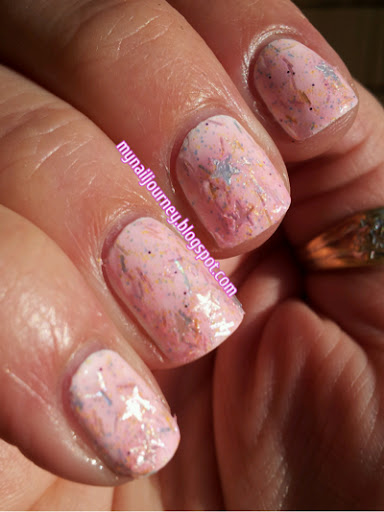
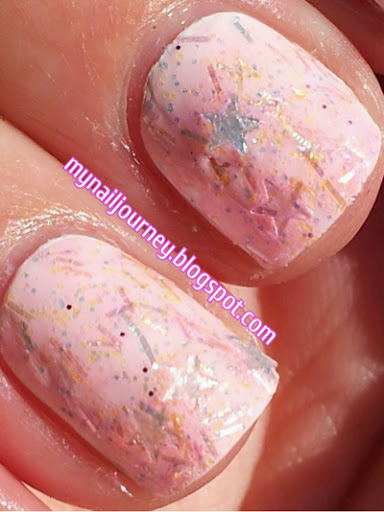
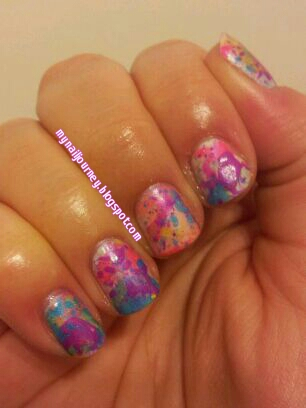
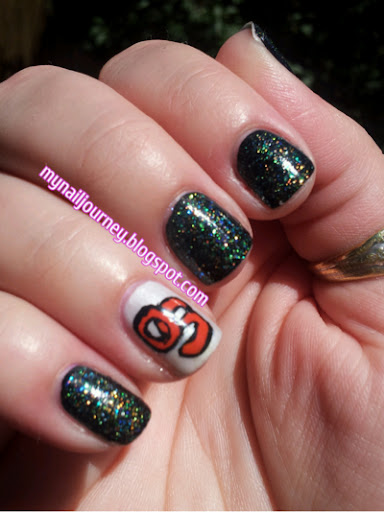
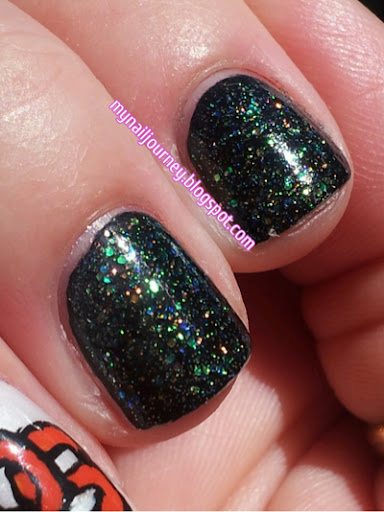
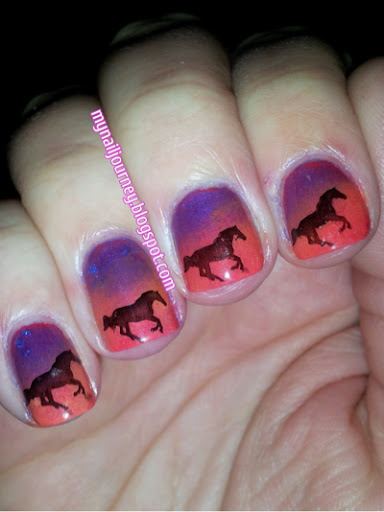
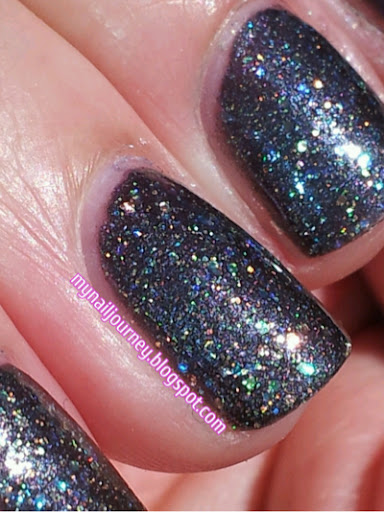
I also received I Gotta Confection To Make from Jennifer in the same Adopt A Friend swap and since my mani dried so fast I decided to add some sparkle to it. I freaking love this glitter. I thought it was just silver glitter suspended in a pink base, but I was wrong! (I seem to have issues with glitters. You can see I made the same mistake with UFO.) It is packed full of multi colored glitter and it made me so, so, so happy.
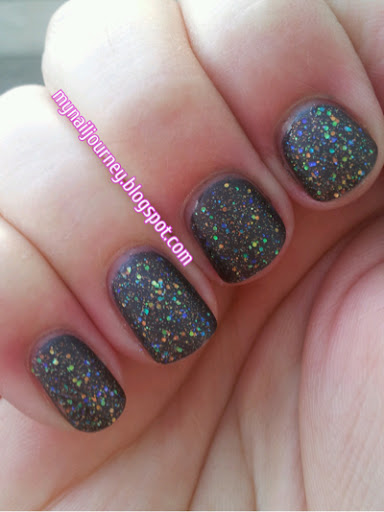
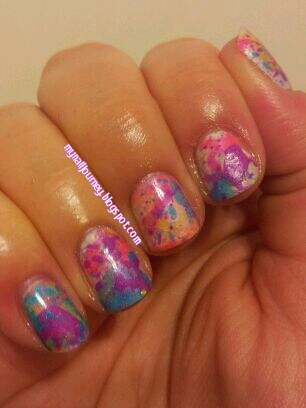
The next morning I decided I wanted to do even more to this and I thought, what better way to try out my matte top coat. I applied it and I fell in love! Now, I really am not one for mattes, but every now and then I like them. I think I liked it on this one because it brought out the glitter that much more. Ok, enough blabbing, here you go!
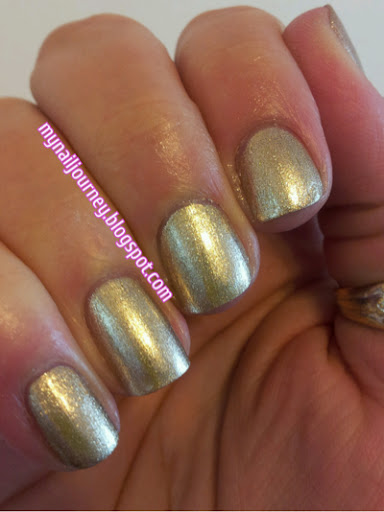
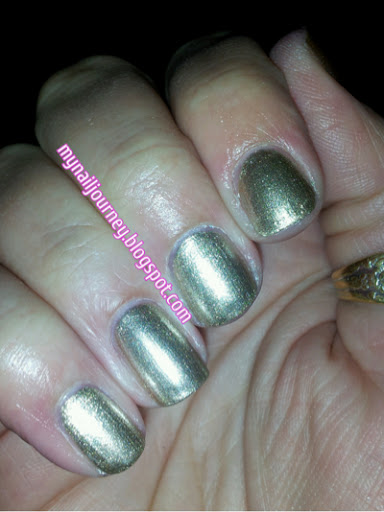
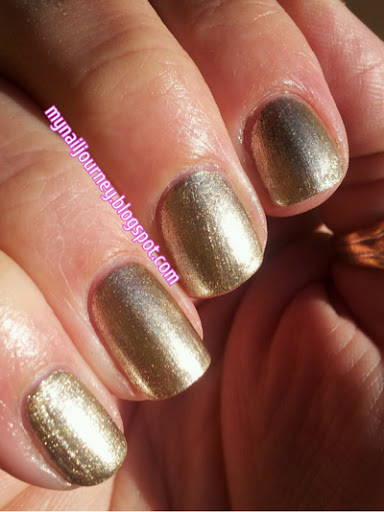
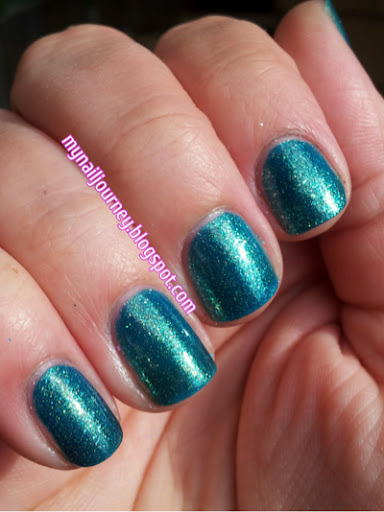
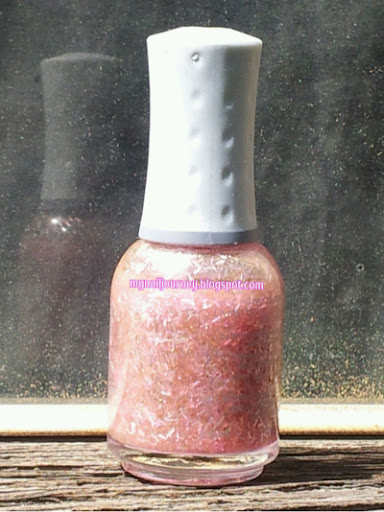
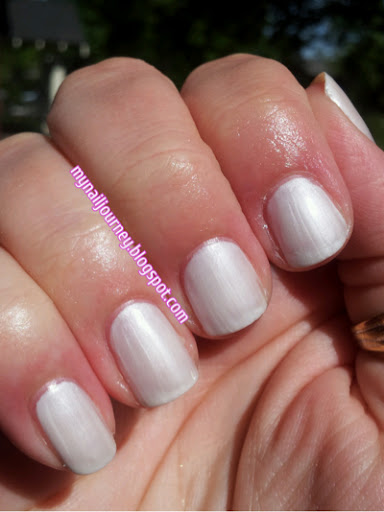
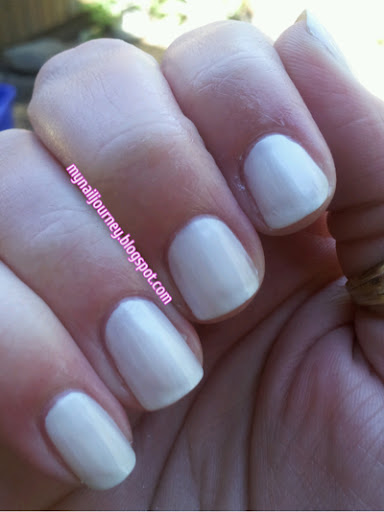
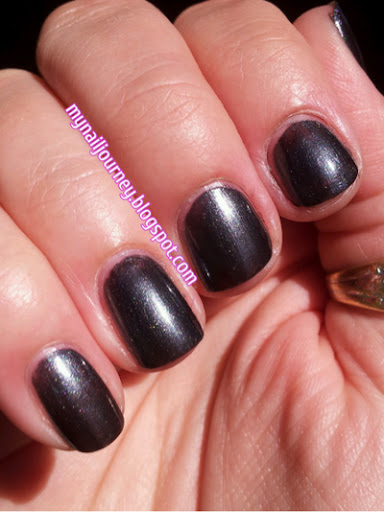
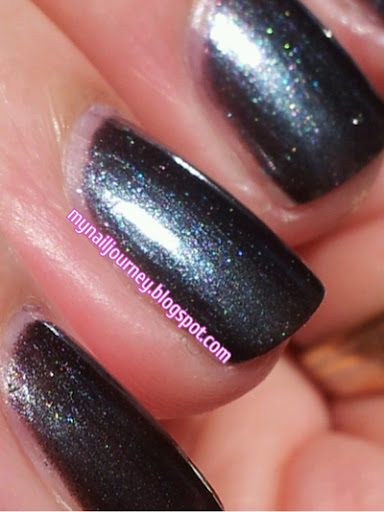
Base coat, color, Top coat of swatches: Black Platinum by Sally Hansen - 3 coats
Glitter: I Gotta Confection To Make by Spoiled - 1 coat
Top coat: Out the Door
Matte top coat: Nail Art Special Effect! Topper by Essence
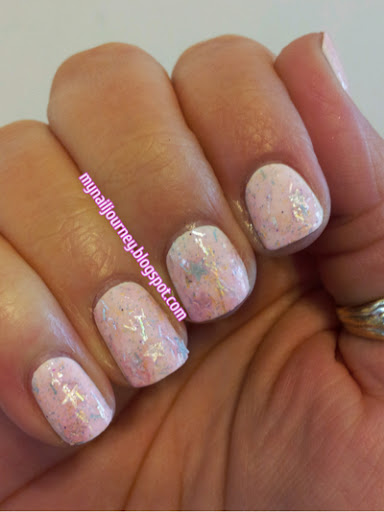
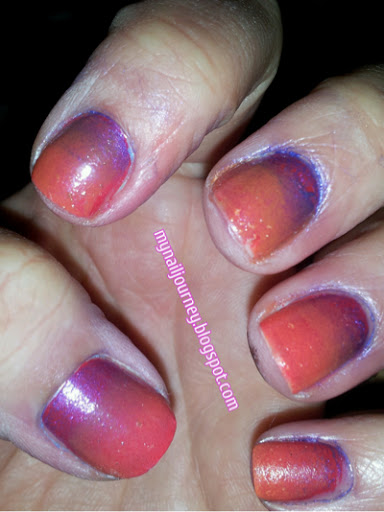
Here it is matteified
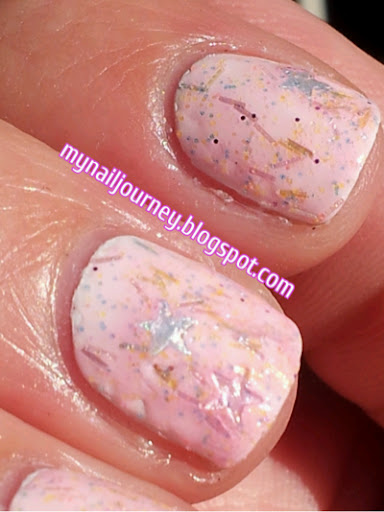
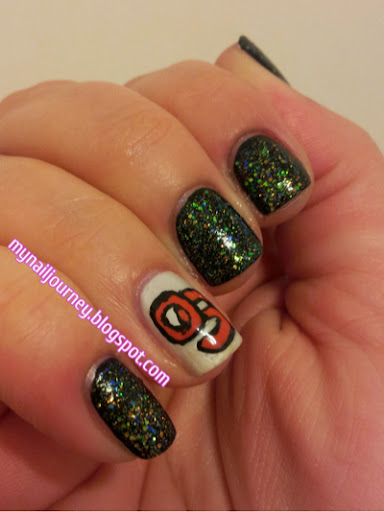
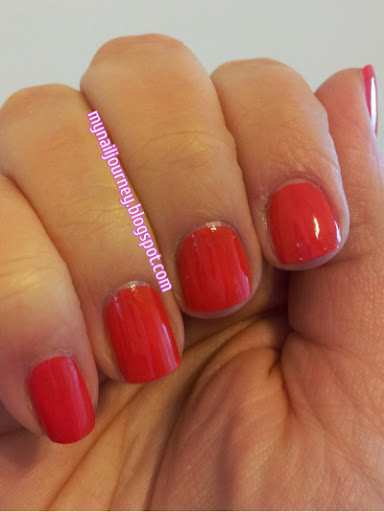
Here it is with the glossy top coat over it
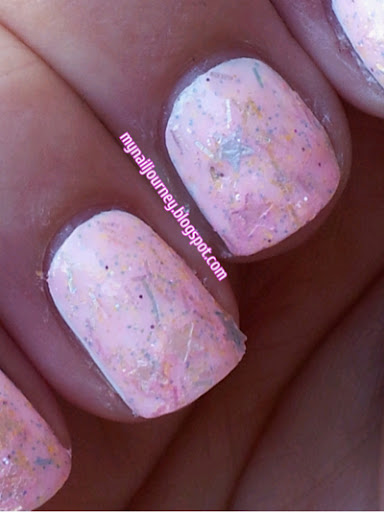
And now for the swatches
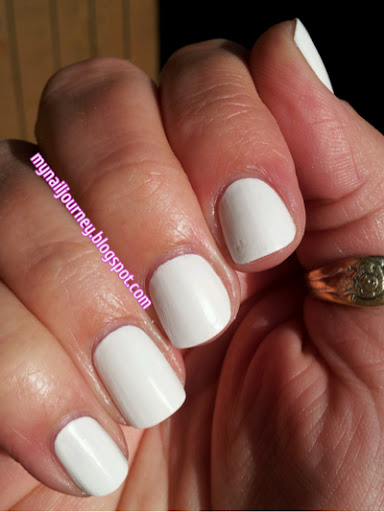
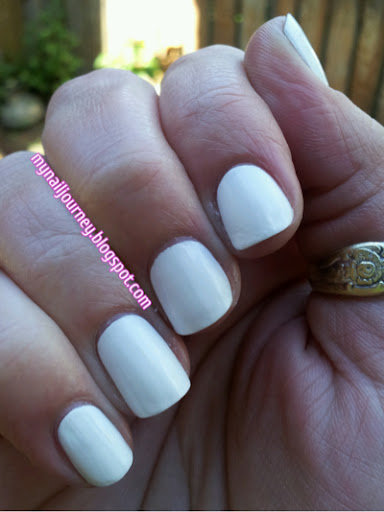
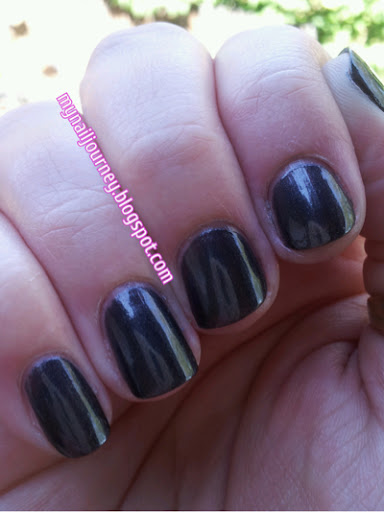
Taken outside in direct sunlight
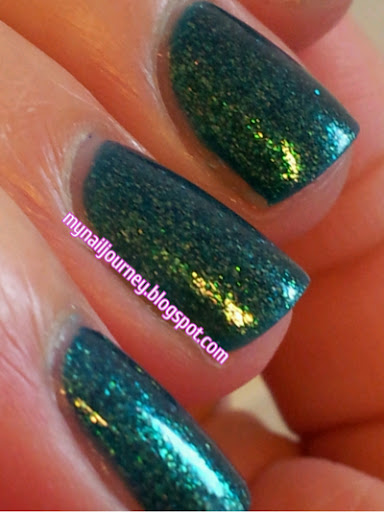
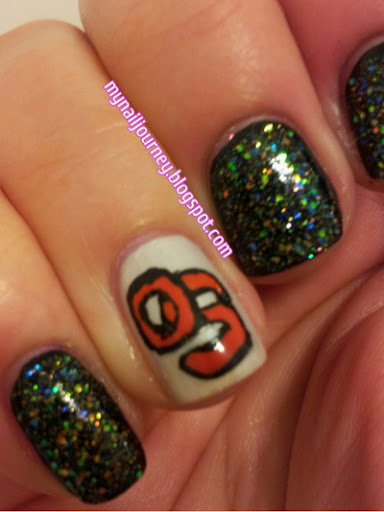
Upclose in direct sunlight. I am including this to show the micro
shimmers that appear in the Black Platinum. I didn't even notice
them until after I took this picture.
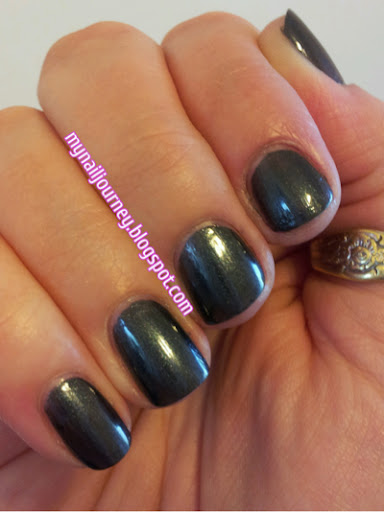
Outside in indirect light
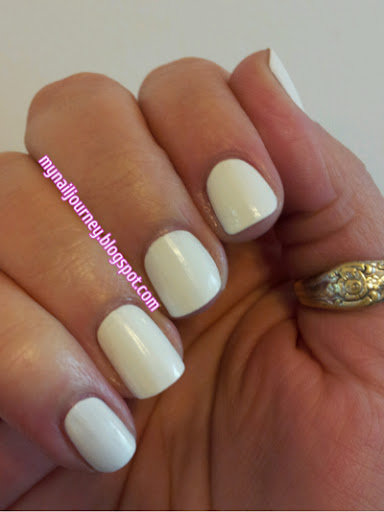
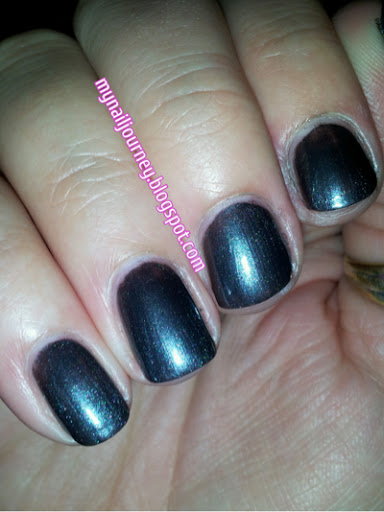
Inside with flash
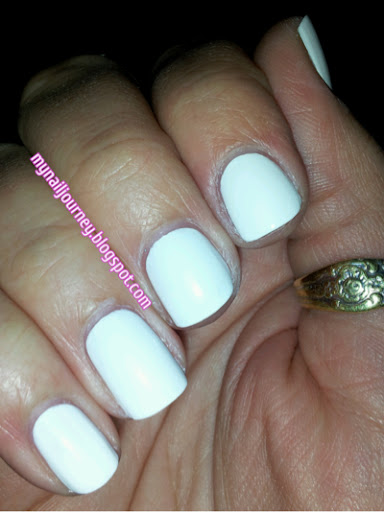
Inside without flash
Oh, and one last thing. This lasted me two days without chips. In my industry that is a freaking miracle. I usually can't make it half way through my shift before my mani chips!
So, have you tried any of the Complete Salon Manicure Line? What did you think?