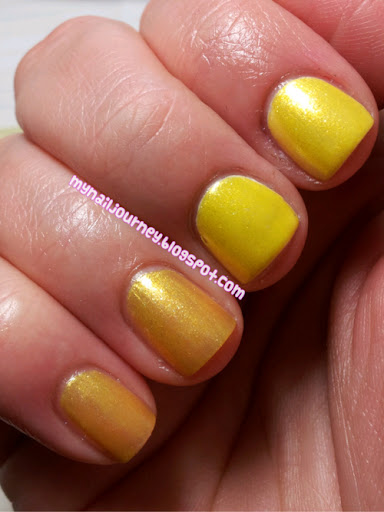
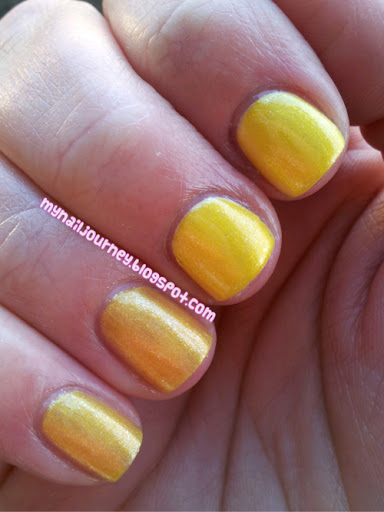
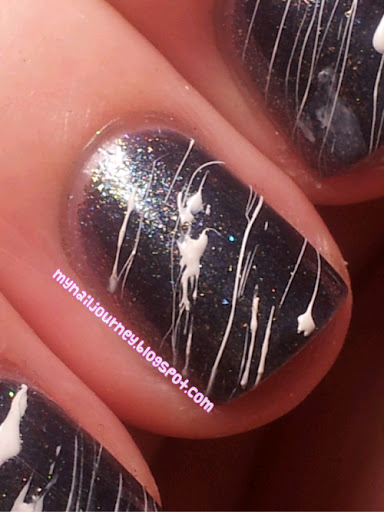
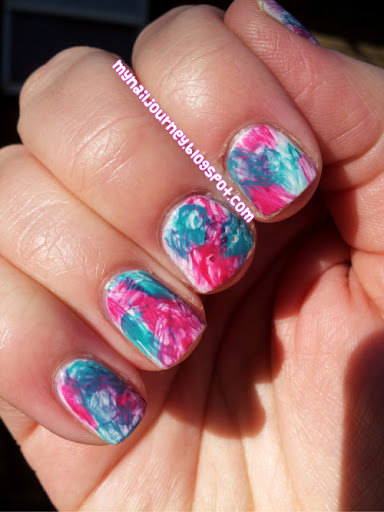
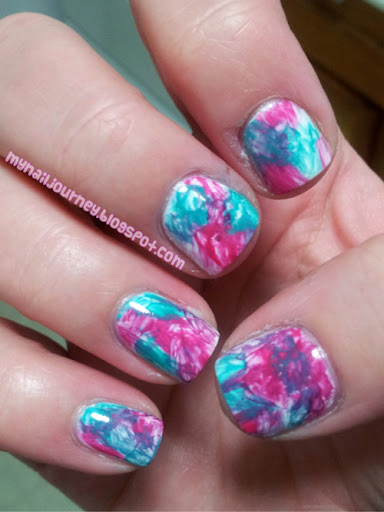
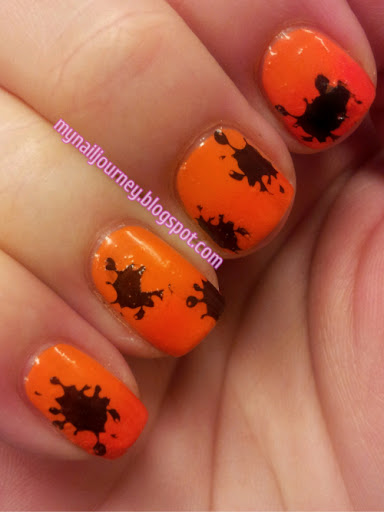
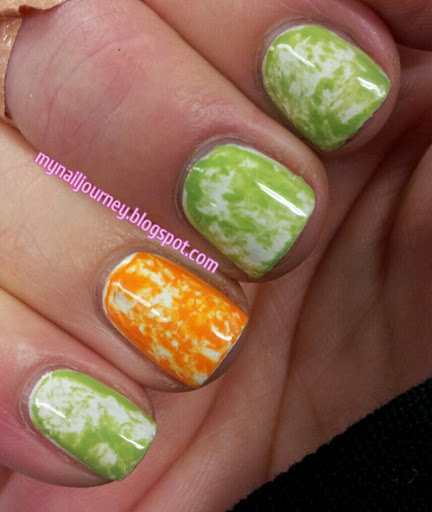
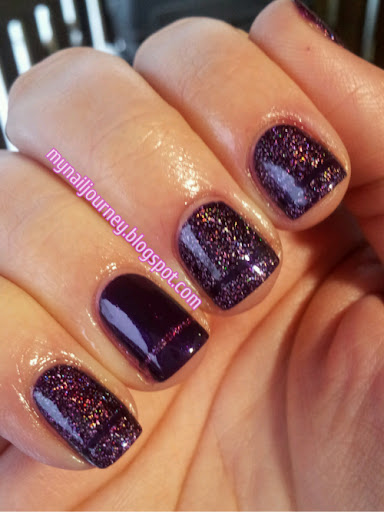
What I am about to show you is not at all what I had planned for today. My original idea was to use some purples, blues, or pinks for this, but since I can't read I ended up with this. In order to stay organized throughout this challenge I have a list of all of the manicures next to my computer. Once I have completed the manicure, I will put a little check mark next to that day, and once I have posted to my blog I cross it off my list. Back on day six, after I finished my mani for the next day, I forgot to put a little check mark next to day seven, (ombre or skittle). Along comes day seven, I post to my blog, and I forget to cross off for that day. So, once I started on my mani for day eight, all I saw was skittle and went on my way. After I painted on my white base coat for a neon skittle, I realized that I didn't actually have to do a skittle mani! I looked down the list and figured I could make this the base for my saran wrap mani.
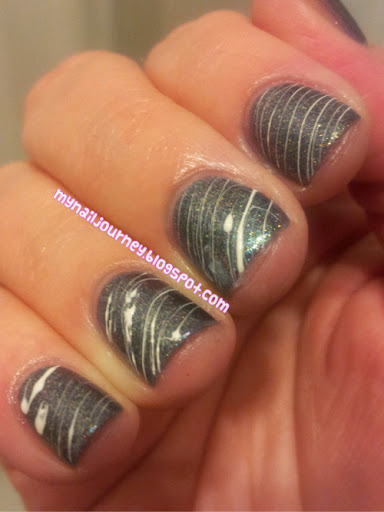
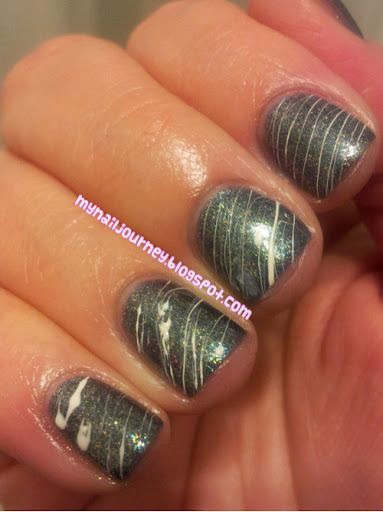
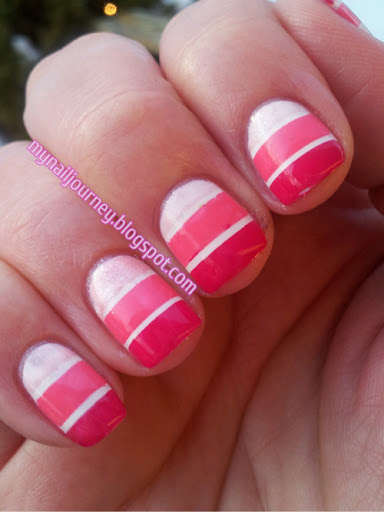
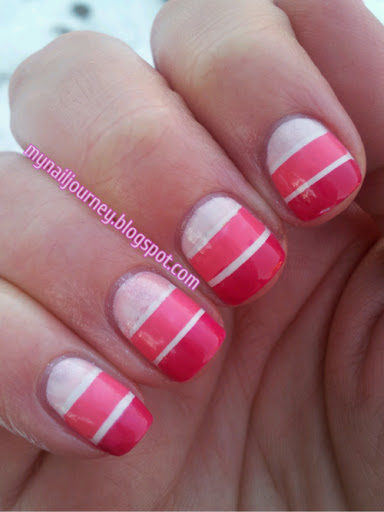
I had originally planned to do something with pinks, purples, or blues for today's challenge, but since I already had on the white I decided to go in a dirrection less followed, by me at least. Even though this is not what I intended it to be, I still really like it, and I am glad I went outside my box on this one.
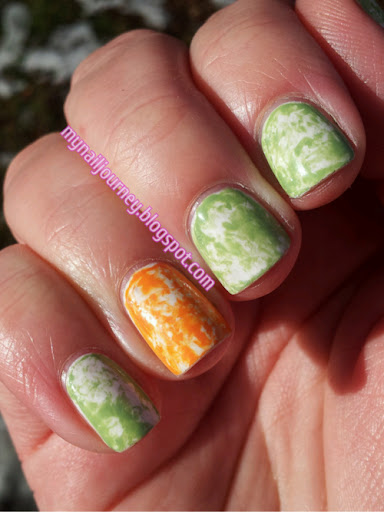
Base coat: Pro FX Fiberized Ridge Filler
Base color: White on the Spot from Milani - 2 coats
Green: Olympia from Sinful colors
Orange: Sunny Side Up from Wet N' Wild - Wild Shine
Top coat: Seche Vite
Oh yeah, I forgot to mention one tiny important thing. Unless you are going to apply your base coat and wait until the next day to do the saran wrap technique, I recommend that you use a top coat over your base color. I did not because I thought waiting two hours would be long enough. YOu can't really tell on this hand, but on my other I had a bunch of naked nail shining through because the plastic went through both layers of my base color. :-(
How about you guys. Have you ever done something completely different from what you wanted to, but been happily surprised when you were finished?